
Google Tag Manager (GTM) is a free tool from Google that lets you manage tracking codes and scripts on your website without editing the source code directly. This guide walks you through the full setup — creating a GTM account, adding the GTM snippet to your site, and inserting the Smartsupp chat code as a tag.
We've broken the guide into the following sections:
Create a GTM account
If you don't have a Google Tag Manager account yet, go to tagmanager.google.com and sign in with your Google account. Click Create Account, enter your account name and select your country.

Set up a container for your website. Enter your website URL and select Web as the target platform, then click Create.

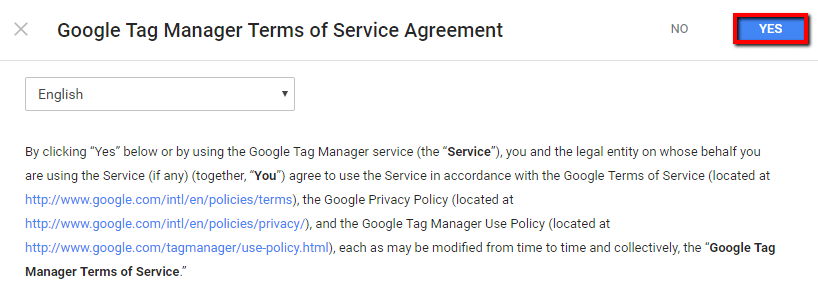
Accept the Terms of Service to continue.
Install GTM on your website
After creating your account, GTM will display two code snippets. You need to add these to your website's HTML:
Paste the first snippet as high in the <head> section as possible.
Paste the second snippet immediately after the opening <body> tag.

Tip: If you're using a platform like WordPress, Shopify, or PrestaShop, you may already have a built-in Smartsupp plugin — check our installation guide for your platform before using GTM.
You can also access the GTM snippets later by clicking your container ID (e.g. GTM-XXXXXX) at the top of the GTM dashboard.

Create a new tag
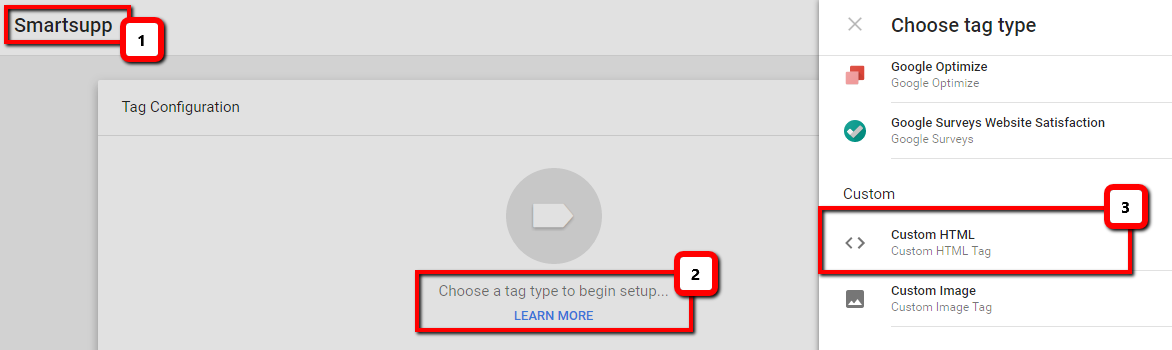
In the GTM dashboard, click Add a new tag (or go to Tags > New). Give your tag a name, for example Smartsupp Chat.

Click the Tag Configuration area and select Custom HTML as the tag type.
Insert the Smartsupp code
Find your unique Smartsupp chat code in the dashboard under Settings > Chatbox > Installation > Insert code. Copy the entire code snippet.
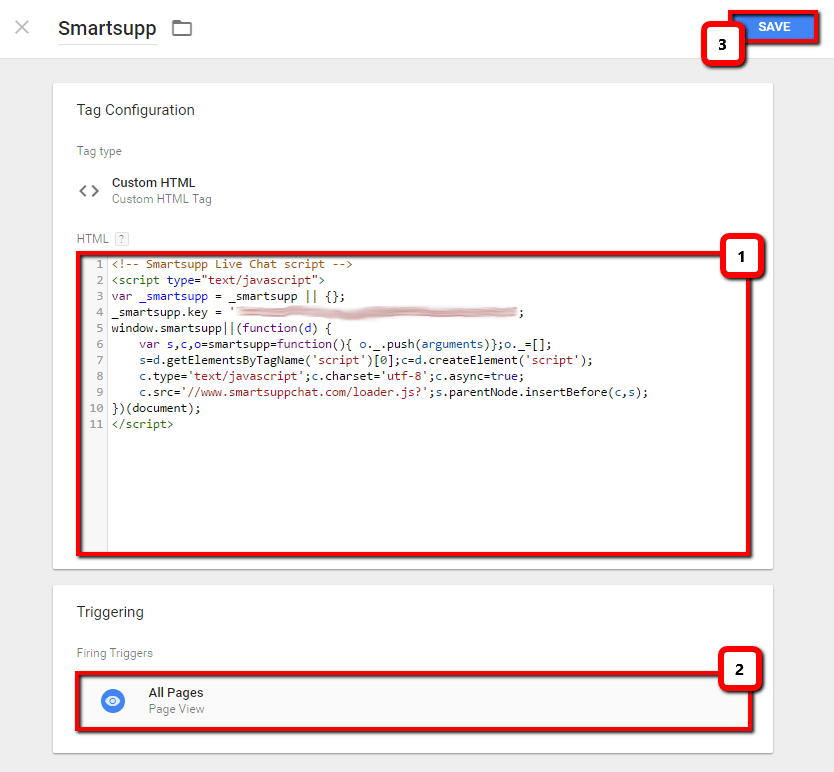
Paste the code into the HTML field of your new tag in GTM. Then click the Triggering section below and select All Pages — this ensures the Smartsupp chat widget loads on every page of your website.
Note: Make sure you paste the full code including the <script> tags. Unlike some platforms, GTM accepts full HTML including script tags in the Custom HTML tag type.
Publish the tag
Click Save to save your tag, then click the Submit button in the top-right corner of the GTM dashboard.

Add a version name and description (optional), then click Publish.

Verify the installation
Open your website in a new browser tab and refresh the page. The Smartsupp chat widget should now be visible in the corner of your site.
Tip: If you don't see the chat widget, try clearing your browser cache or opening your site in an incognito window. Also make sure the GTM container code is properly installed on your website.
Related resources:
Smartsupp installation — full overview of all installation methods.
Multi-language chat box — set up the chat widget in multiple languages.
What's next?
Basic chat box settings — Customize colors, position, welcome messages, and more.
Chat box status — Learn how the chat widget status works and how to control it.
Why can't I see the chat on my website? — Troubleshoot the most common installation issues.
Download plugins — Explore all available platform integrations.