
Note: We are no longer developing the Smartsupp plugin for Magento. For some versions, the plugin may not work correctly. In these cases, you will need to insert the chat code manually.
Running your e-shop on Magento? This guide walks you through everything you need to connect Smartsupp to your store — from installing the plugin to manual code integration.
We've broken the guide into the following sections:
Option 1: Install using the Magento plugin
The easiest way to add Smartsupp to your Magento store is through the official plugin. Follow these steps to install and connect it.
Get the plugin from Magento Marketplace
Go to the Smartsupp Live Chat page on the Magento Marketplace, select your Edition and Version, and click Add to Cart.

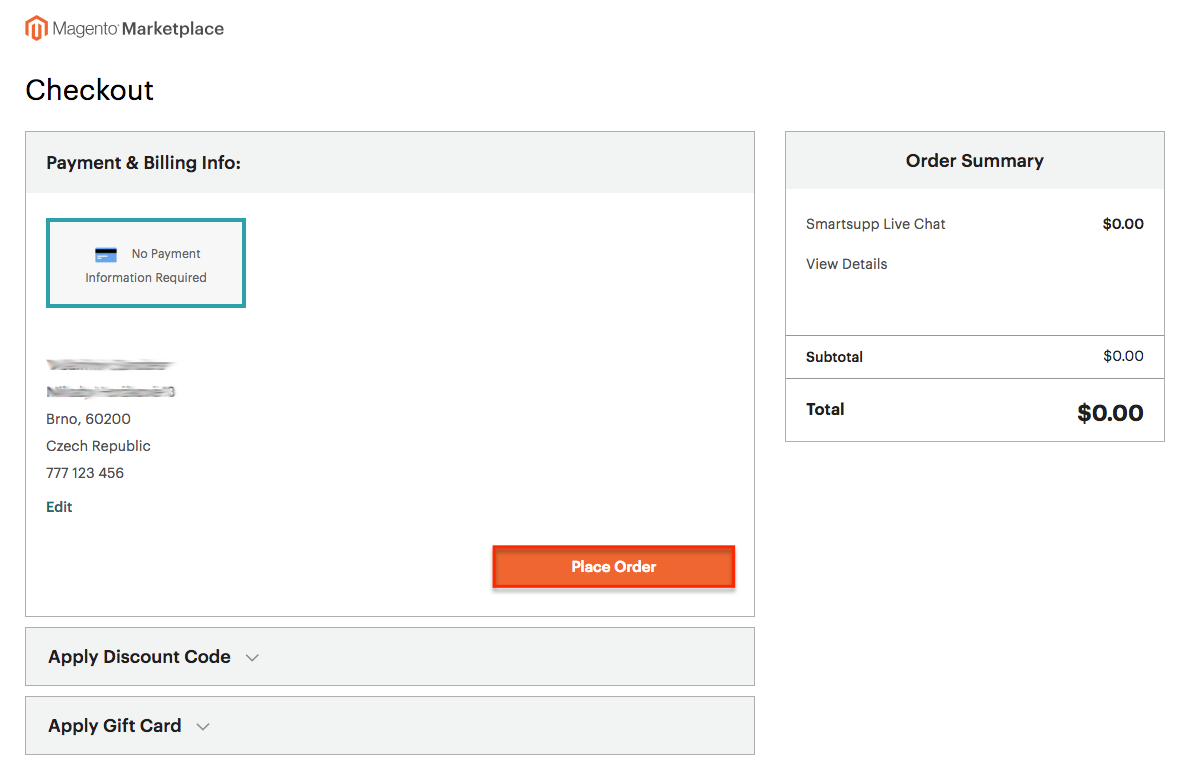
On the Checkout page, click Place Order (the plugin is free).
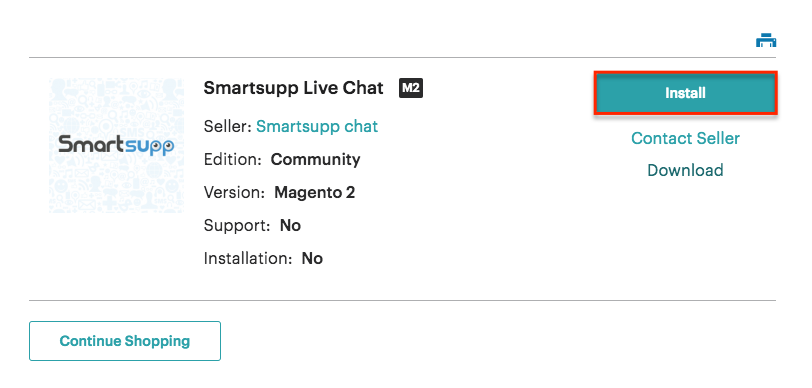
On the next page, select Install.
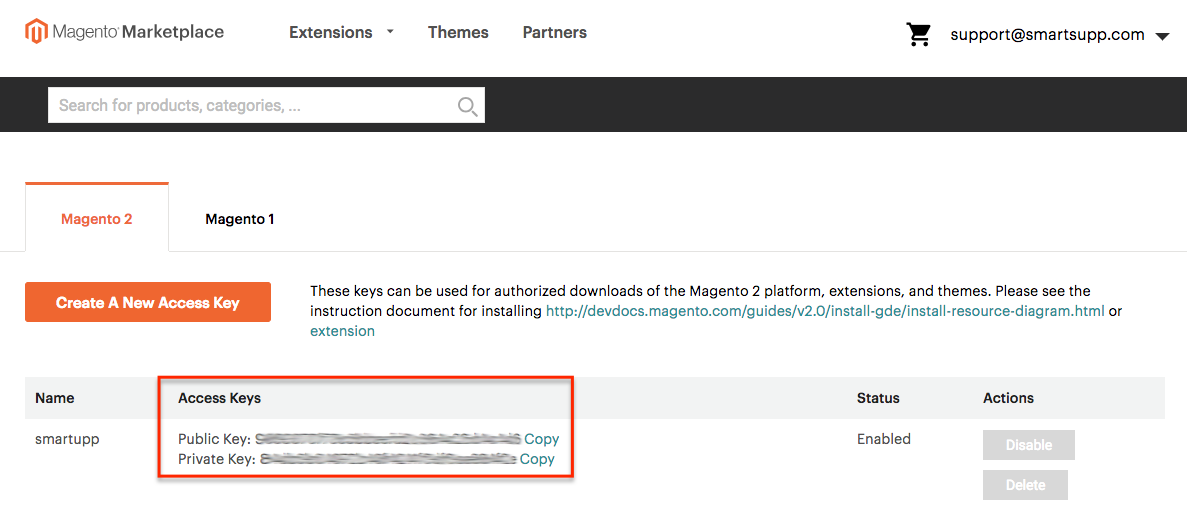
You will be redirected to the account page with Access Keys. Keep this page open — you will need the keys later.
Install the plugin via Web Setup Wizard
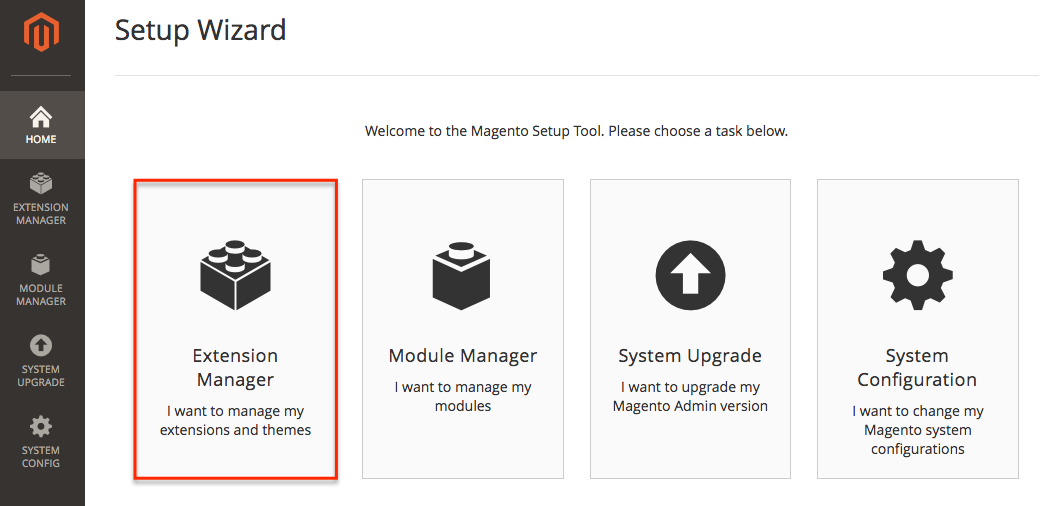
Log in to your Magento Admin and go to System > Web Setup Wizard.

Select Extension Manager.
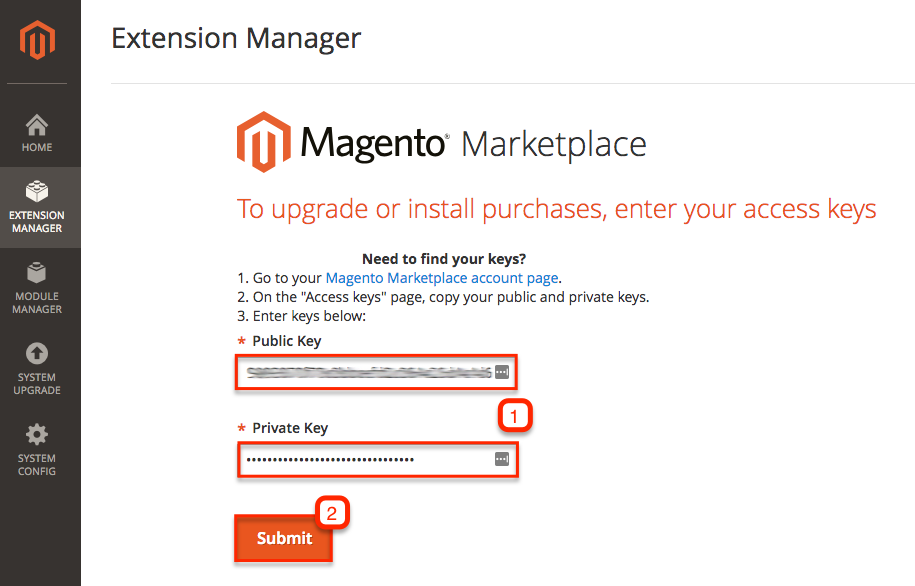
Enter the Access Keys from the Magento Marketplace account page and click Submit.
Click the Refresh button, then click Review and Install.

Search for smartsupp/smartsupp, select it, and click Install.

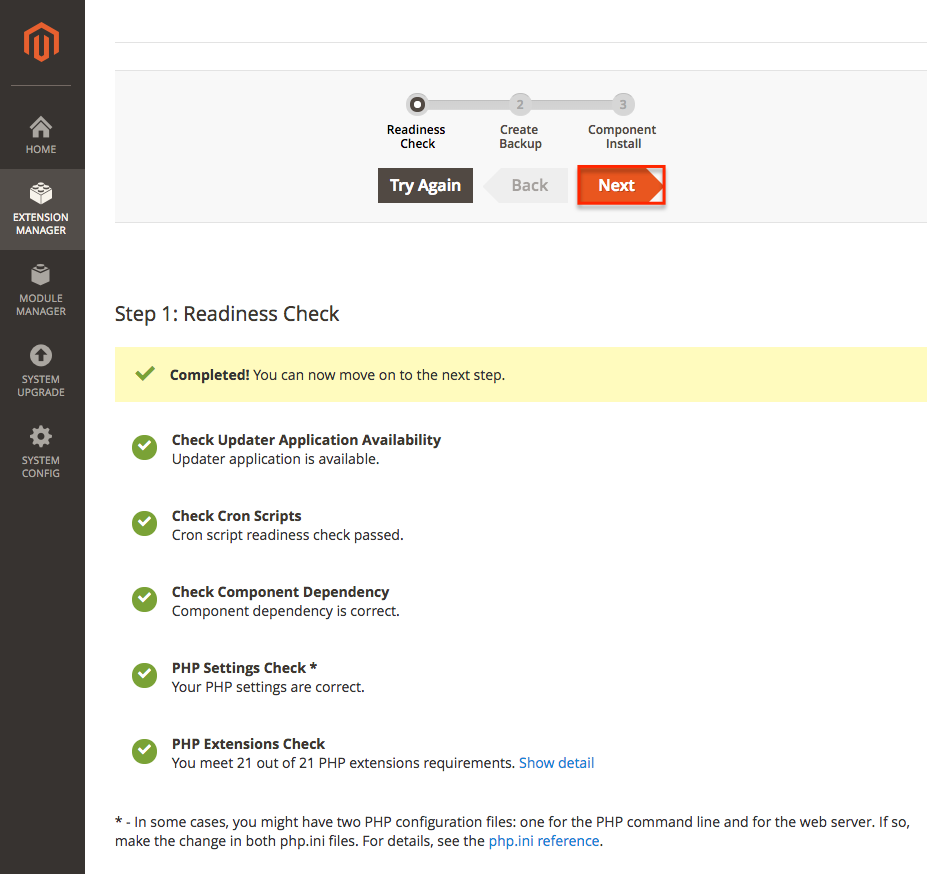
Run the readiness check and install
Select Start Readiness Check or click Next (the check will start automatically).

Once your Magento and hosting settings pass the check, click Next.
Magento recommends creating a backup before any plugin installation.
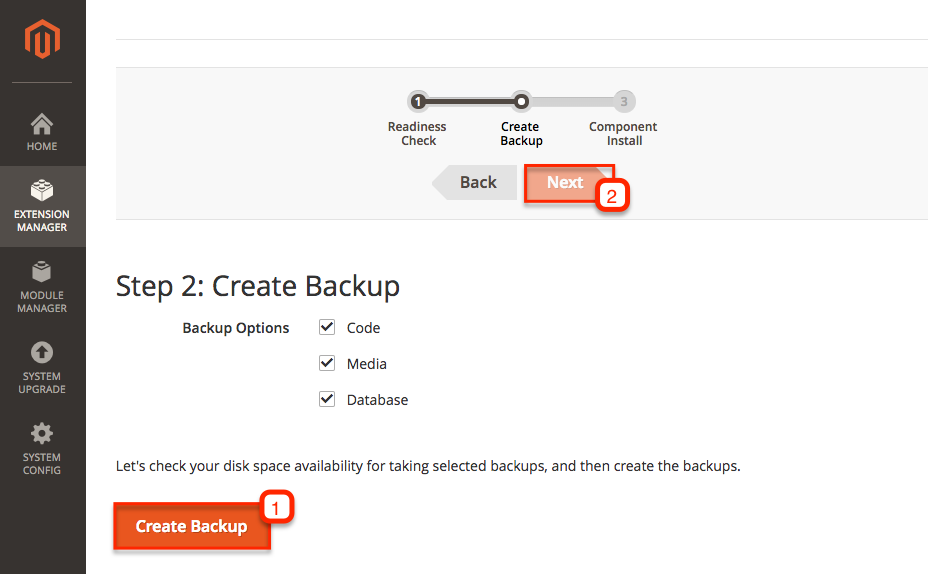
Note: If the backup fails, contact your Magento developer. You can choose to skip the backup — Magento will show a warning, but you can continue.

Click Install to start the installation. You will see the progress in the console log — it may take several minutes.

When the installation is complete, you will see the Success page. Click Back to Setup Tool.

Connect your Smartsupp account
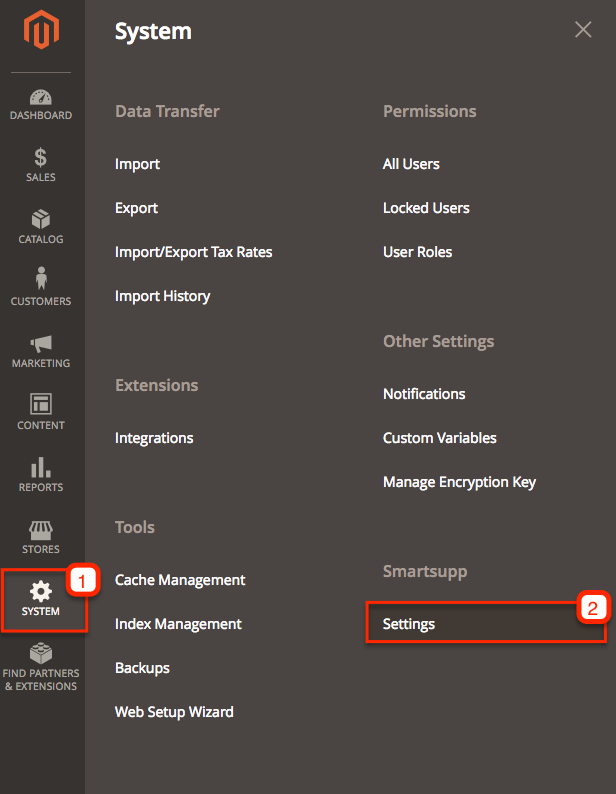
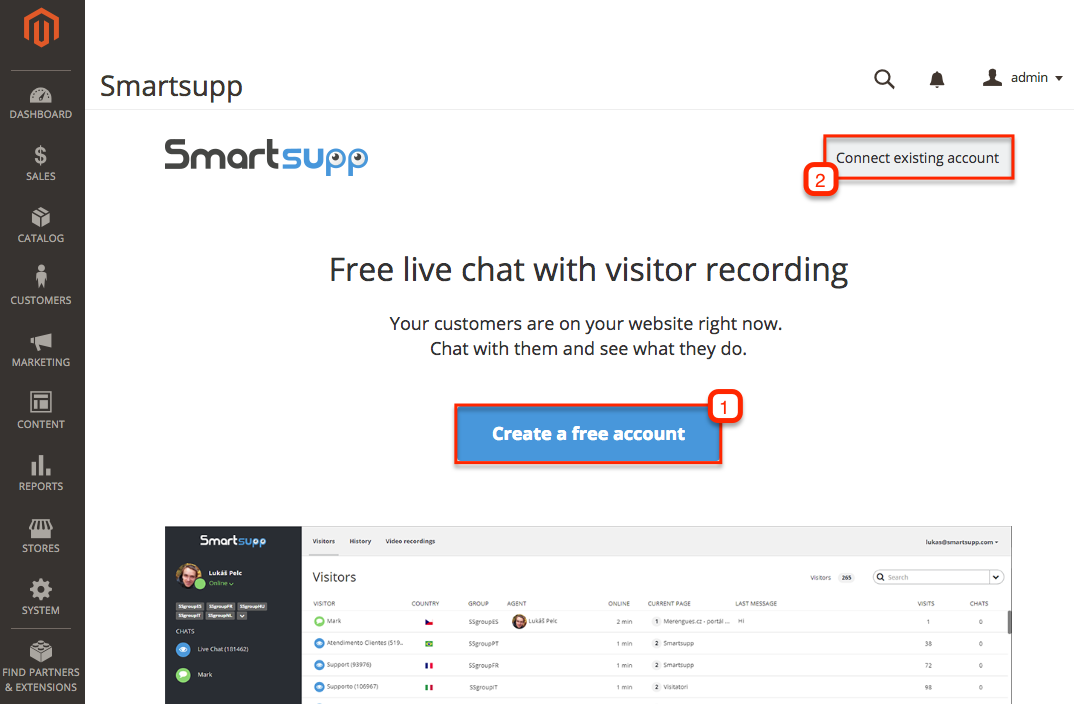
Go back to the Admin homepage, select System, find Smartsupp, and click Settings.
You can Create a free account or Connect an existing account. Log in with your Smartsupp credentials to link your account.
If everything is set up correctly, you will see the confirmation page.

Tip: After connecting your account, go to your store's homepage and refresh the page — the Smartsupp chat widget should now be visible.
Option 2: Manual code installation
If the plugin doesn't work with your Magento version, or if you prefer manual control, you can insert the Smartsupp chat code directly into your theme files.
Copy the chat code
Find your unique Smartsupp chat code in the dashboard under Settings > Chatbox > Installation > Put code.
Paste the code into your theme
In your Magento Admin, go to Content > Design > Configuration. Edit your store's theme and paste the Smartsupp chat code in the HTML Head > Scripts and Style Sheets field. Save the configuration and clear the cache.
Note: Direct editing of theme files can break your store if not done correctly. If you're not comfortable with code, ask your web developer for help.
Tip: After saving the configuration and clearing the cache, open your store's homepage and refresh the page — the Smartsupp chat widget should now be visible.
Related resources:
Smartsupp installation — full overview of all installation methods.
Google Tag Manager — alternative installation method using GTM.
What's next?
Basic chat box settings — Customize colors, position, welcome messages, and more.
Chat box status — Learn how the chat widget status works and how to control it.
Why can't I see the chat on my website? — Troubleshoot common installation issues.
Download plugins — Browse all available platform integrations.