This feature is only available in the PRO package.
What are groups?
Groups are a feature of Smartsupp, which is extremely useful when you have multiple agents, and you want to route chats from specific parts of your web to the specific agent.
- If you have a multilingual website, you can route chats from the English part of your website to your English speaking agent and so on.
- You are using Smartsupp on multiple websites, and have different agents for each of these websites.
- You are selling different products on your website, and you want your visitors to always be served by a specialist in that particular field.
How to set up groups?
Creating groups
You will find groups settings at Settings → Groups
After that, create at least 2 groups by clicking on Add group button in the top right corner of your screen.

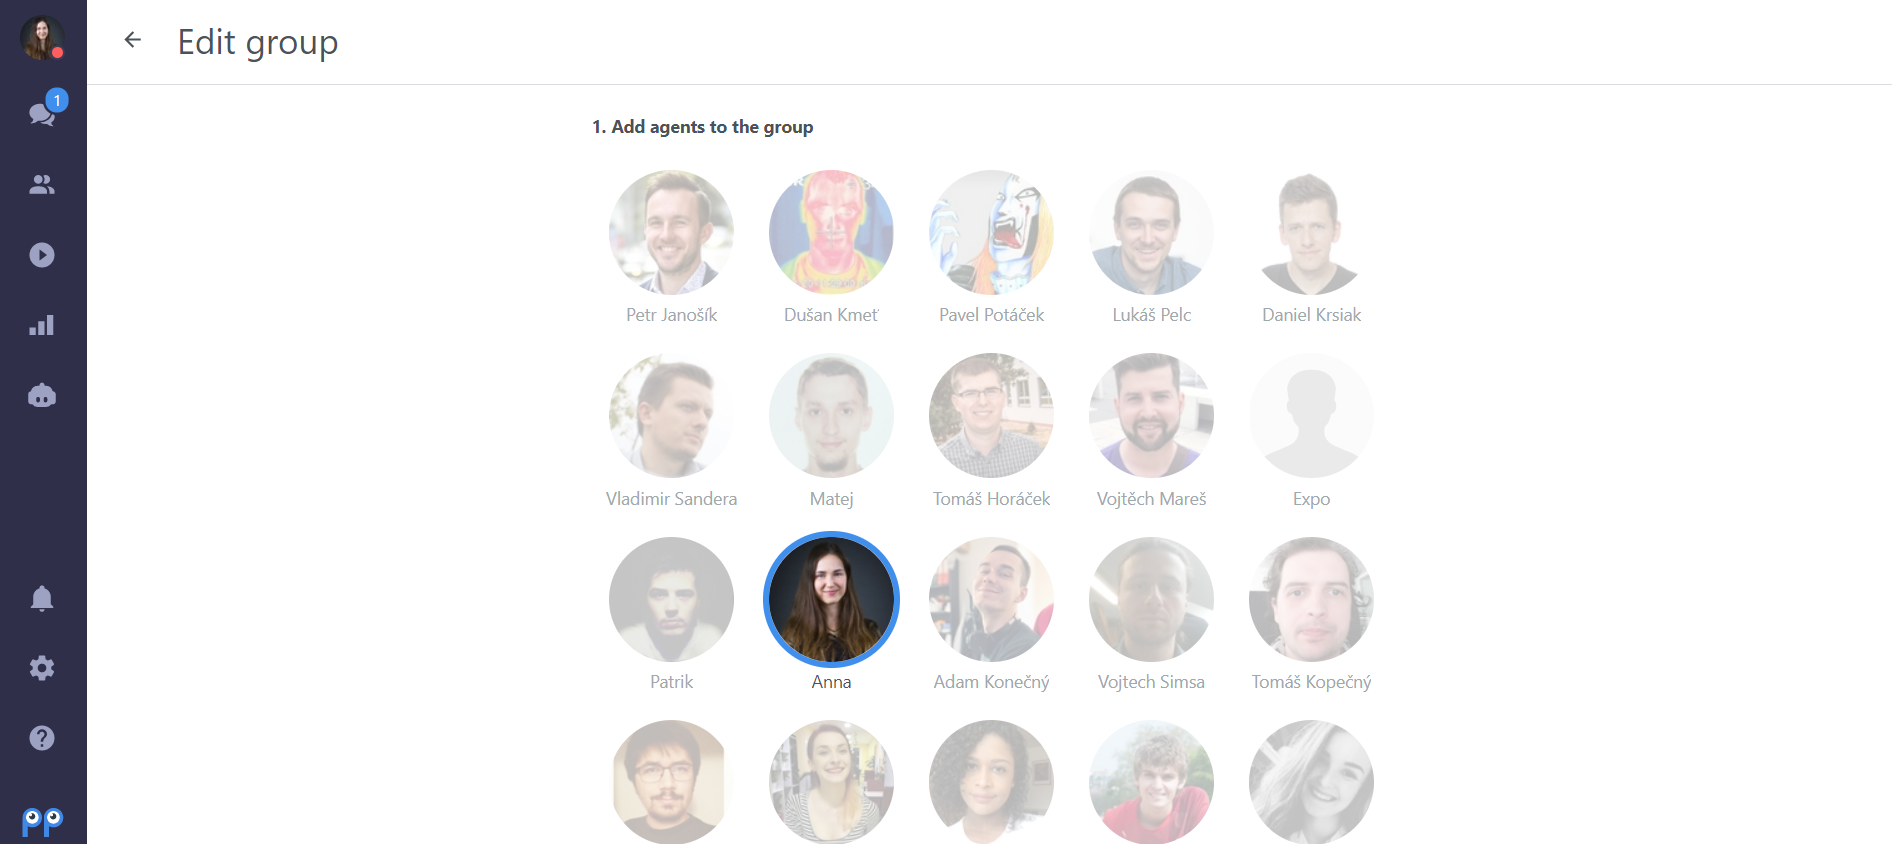
Add agents to the groups
Assign all of your agents to the created groups. Even one unassigned agent can change the status of chat on your whole website, which you probably don’t want. You can easily assign agents to a specific group, just by clicking on their photo in group settings. The number of agents for each group is unlimited.
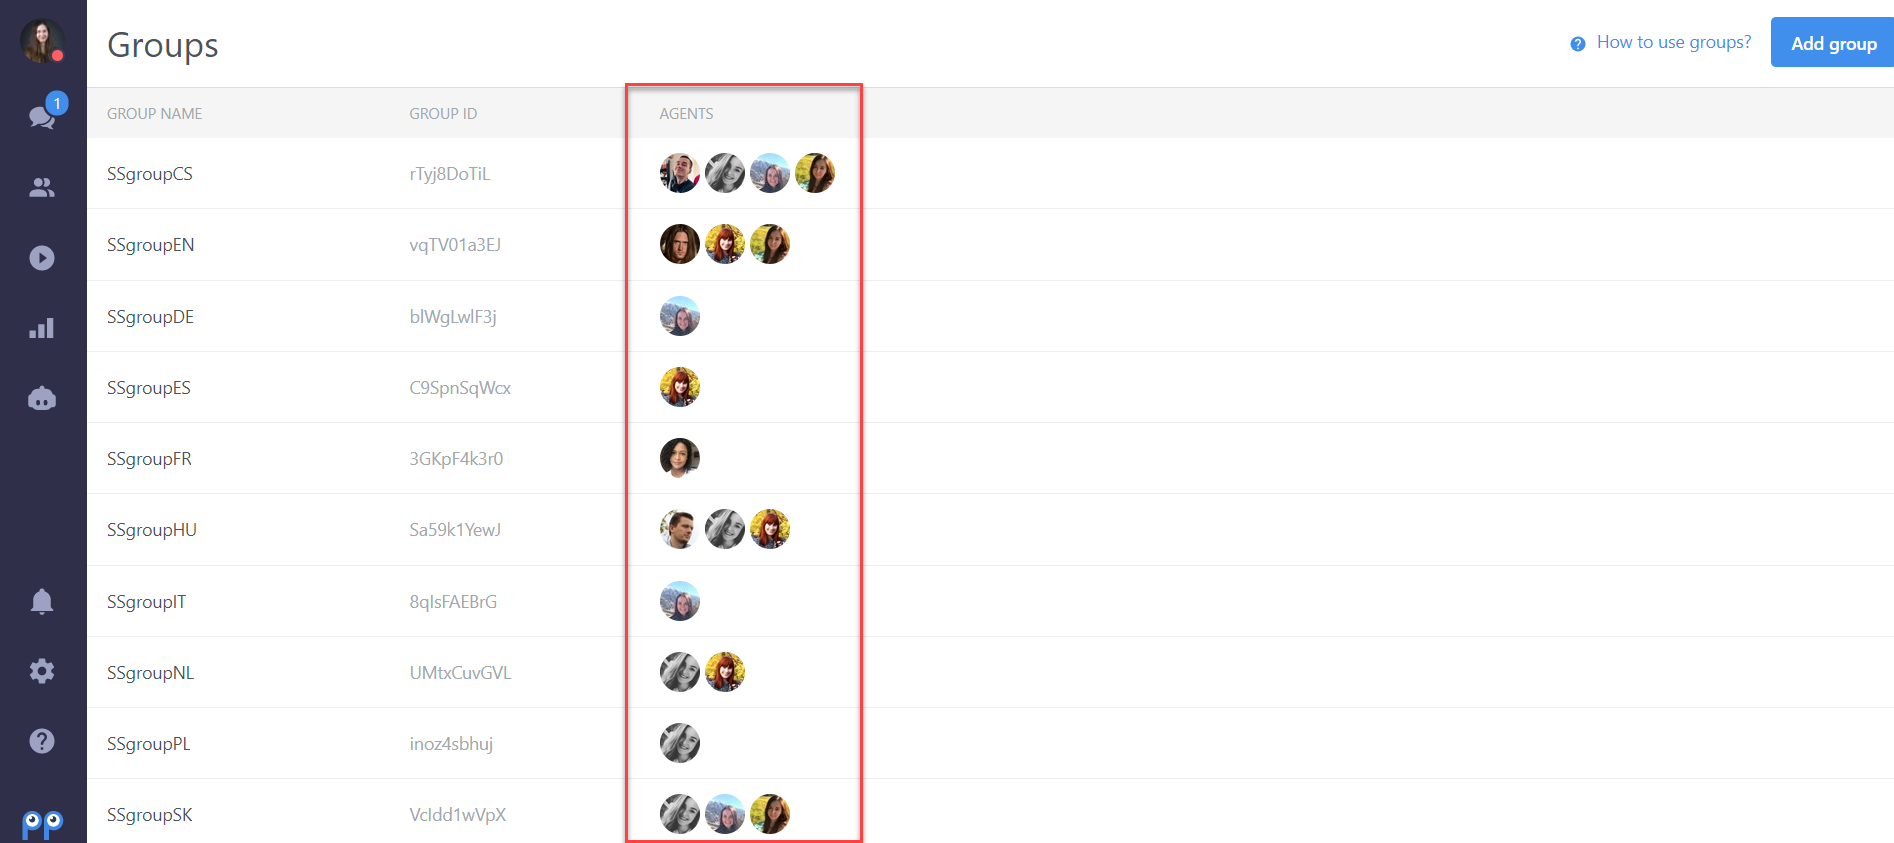
After you assign all of your agents, you can see who is in which group in settings like this:
Note: After all of your agents are assigned to groups, they need to REFRESH their dashboard, for changes to take effect.
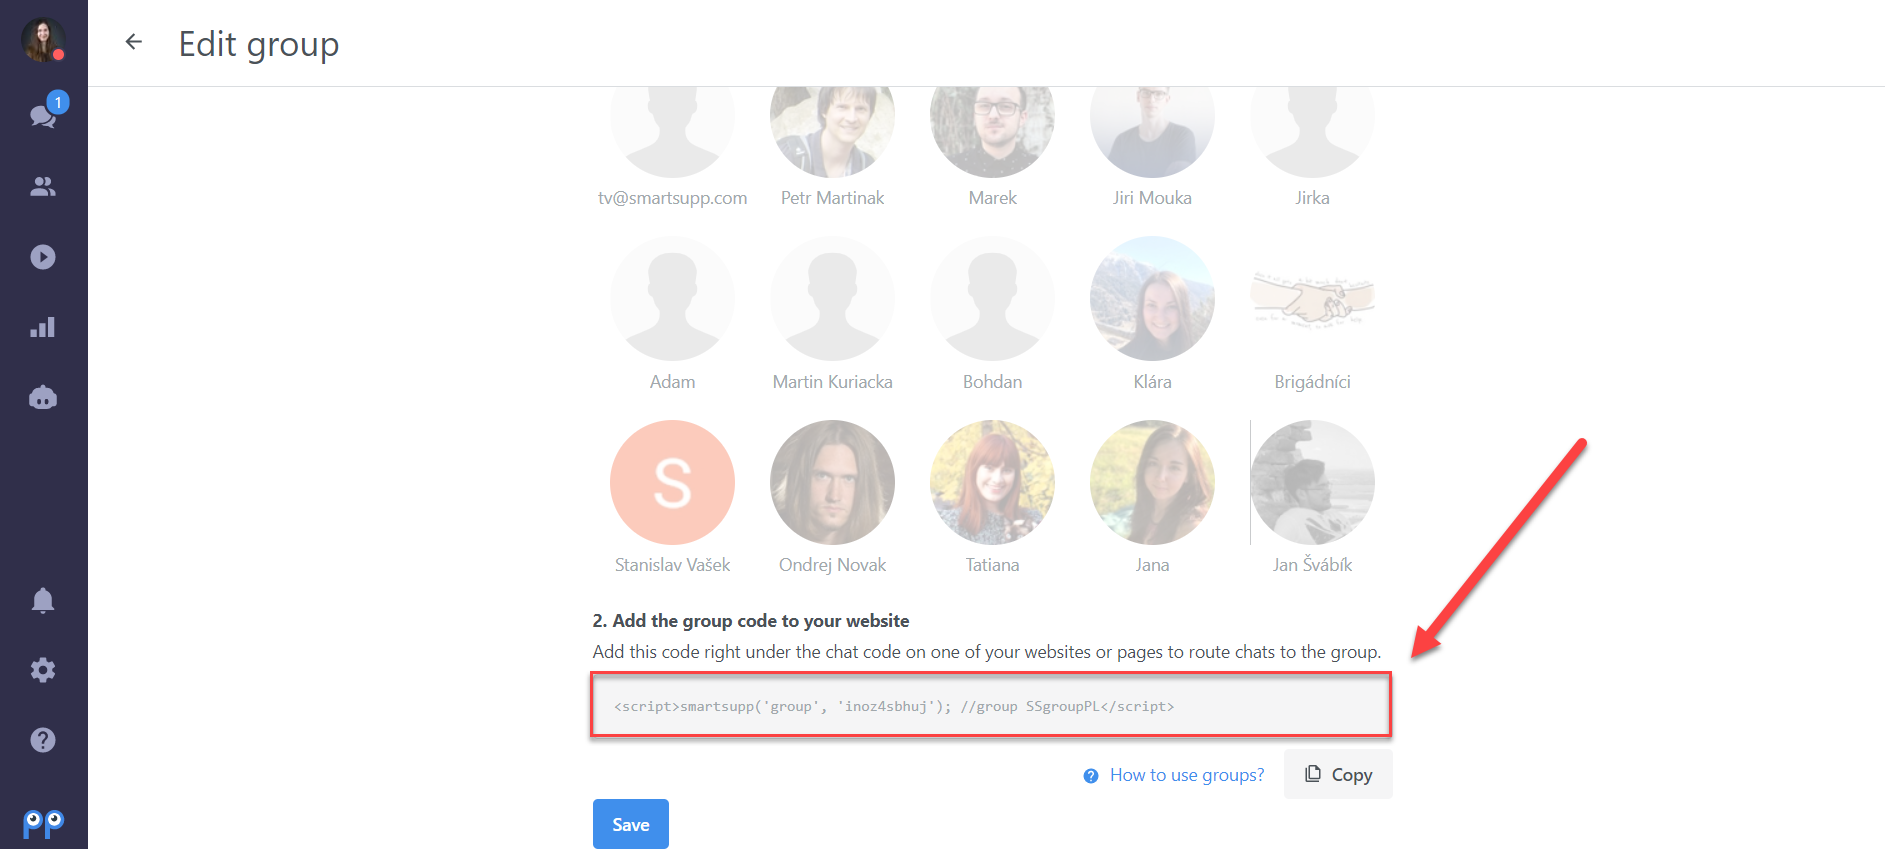
Add the group code to your website
Add the group code right under the chat code on one of your websites or pages to route chats to the group. You need to insert the group code after the Smartsupp chat code.
Your code on that specific website will then look like this:
<script>
var _smartsupp = _smartsupp || {};
_smartsupp.key = 'YOUR_SMARTSUPP_CHAT_CODE';
window.smartsupp||(function(d) {
  var s,c,o=smartsupp=function(){ o._.push(arguments)};o._=[];
  s=d.getElementsByTagName('script')[0];c=d.createElement('script');
  c.type='text/javascript';c.charset='utf-8';c.async=true;
  c.src='https://www.smartsuppchat.com/loader.js?';s.parentNode.insertBefore(c,s);
})(document);
</script>

<script>
smartsupp('group', 'GROUP_ID'); //group Support EN
</script>
Check the settings
If everything is set up properly, and your agents refreshed their dashboards, they should see the group of every new visitor in the visitor list (they can only see visitors from groups, to where they are assigned to).

Using groups with a Contact form
You can use the groups in combination with a Contact form, so your visitors will be able to choose which group of agents they need to communicate with. You will find the option in Settings → Chat box (1) → Contact form (2) → Group selection (3). You need to have at least one group created before this option can be enabled.

This is what the chat box with the group selection will look like on your website:
