A chatbot is your virtual assistant who can reach out to your visitors at the right moment, provide answers to their questions, or help them with their buying decisions.
So instead of having questions answered manually via live chat, your visitors will be able to click on them and the chatbot will provide the necessary answer. It can save you plenty of time, your customers will be served quickly and you’ll be freed up for more pressing tasks.
What's the difference between a chatbot and an automatic message?
- Automatic message is a single message that is automatically sent to your visitors on your website when specific conditions are met.
- Chatbot is also automatically launched when specific conditions are met but unlike automatic messages, it's composed of more than just one message. Usually, it has several different branches which allow the conversations to take different paths during its flow.
How does the chatbot work?
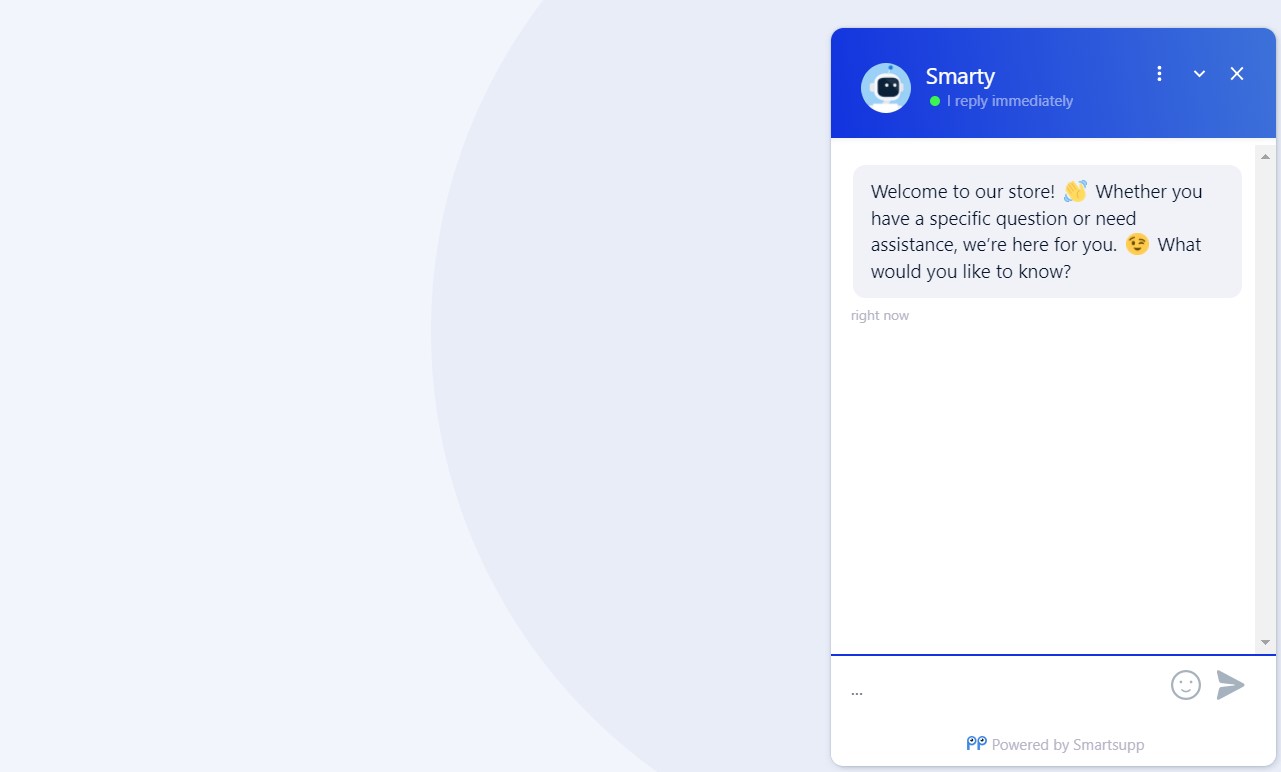
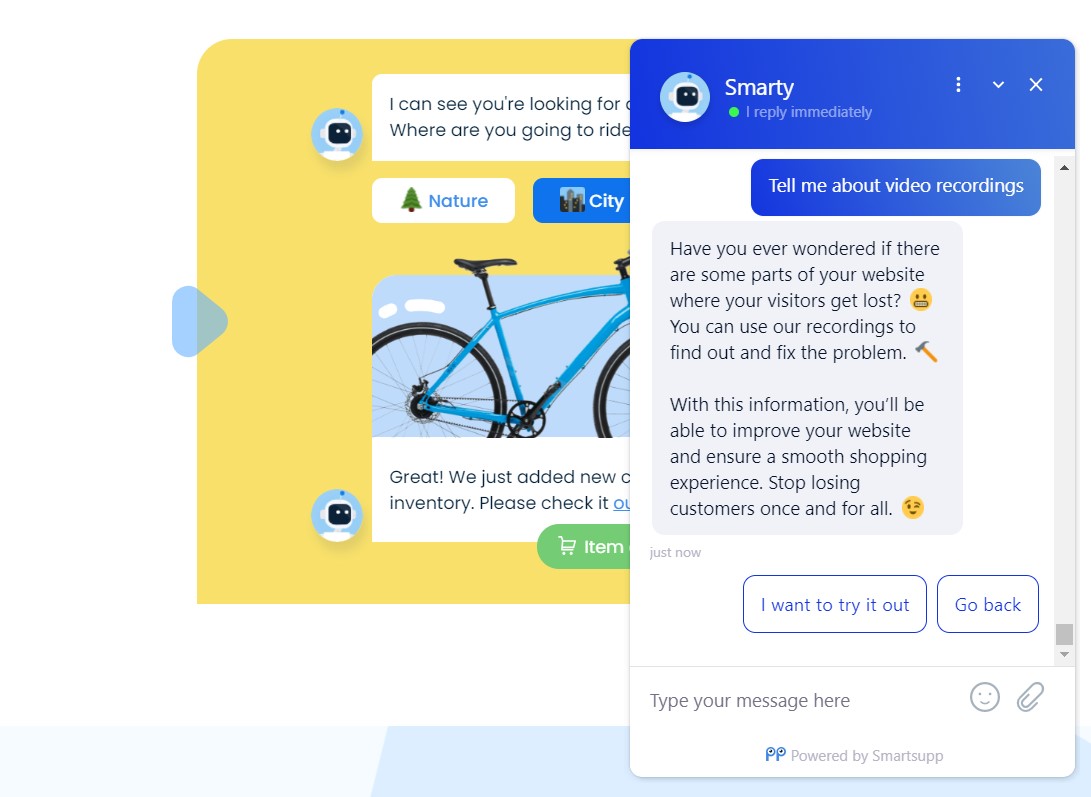
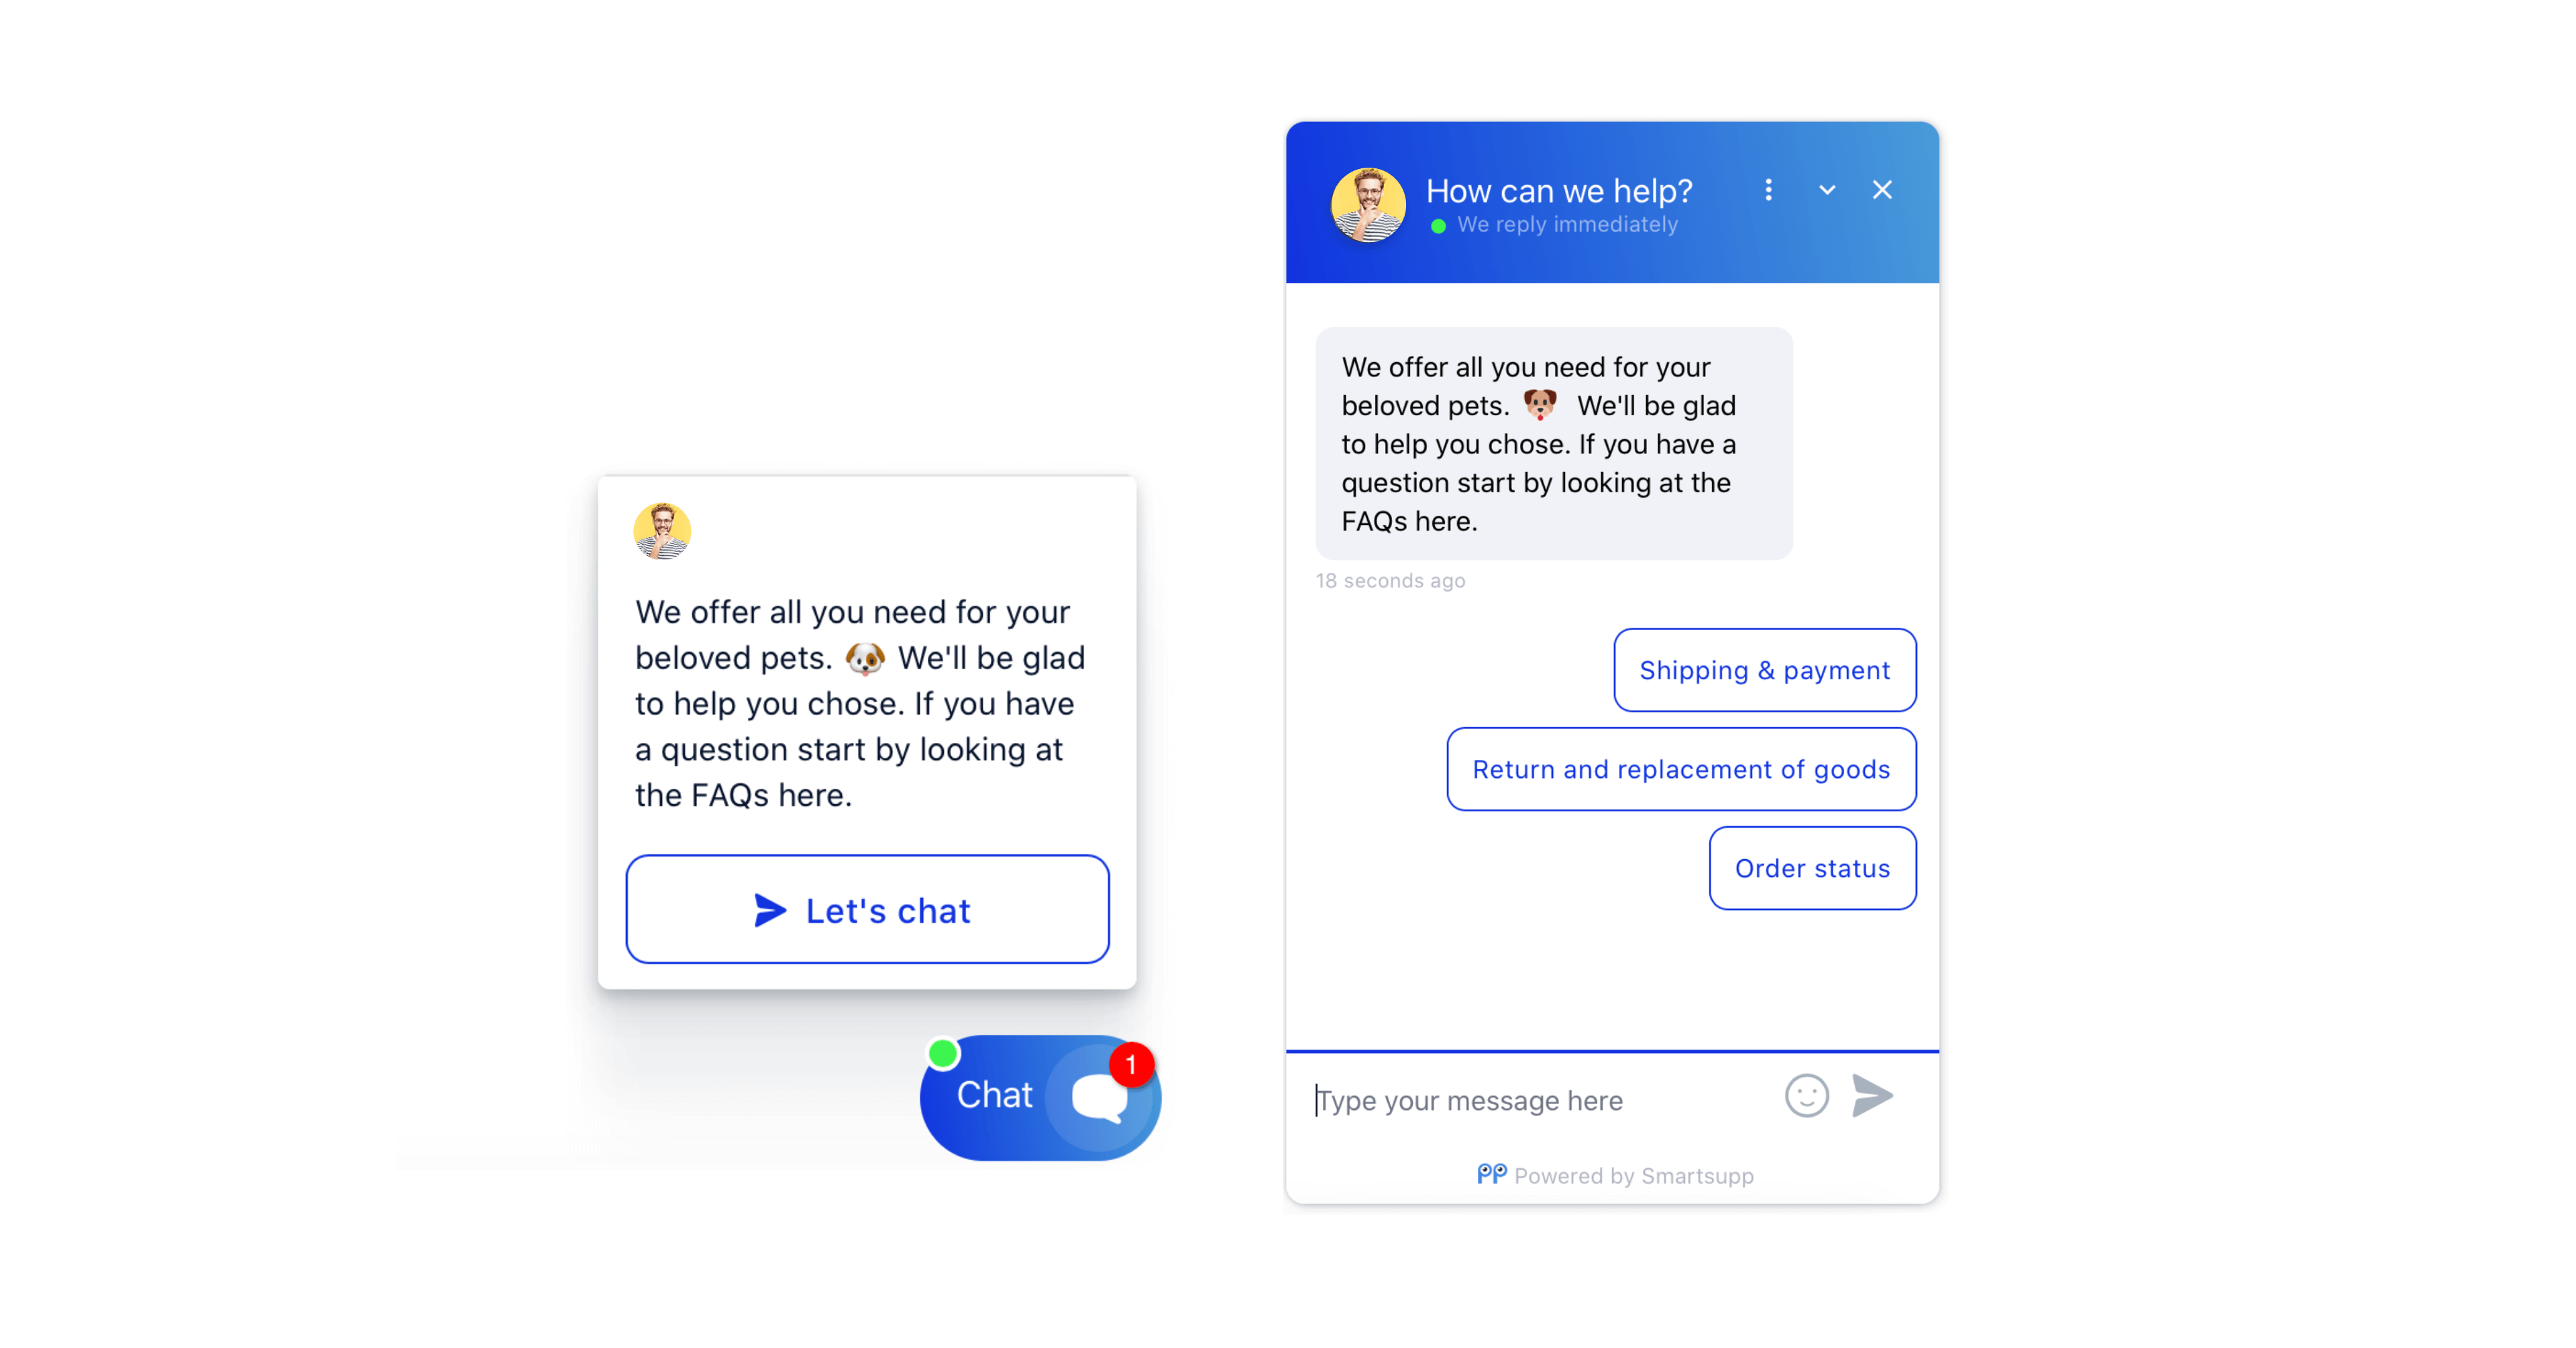
Once a visitor comes to your website the chatbot launches and sends a welcome message that appears above the chat icon.
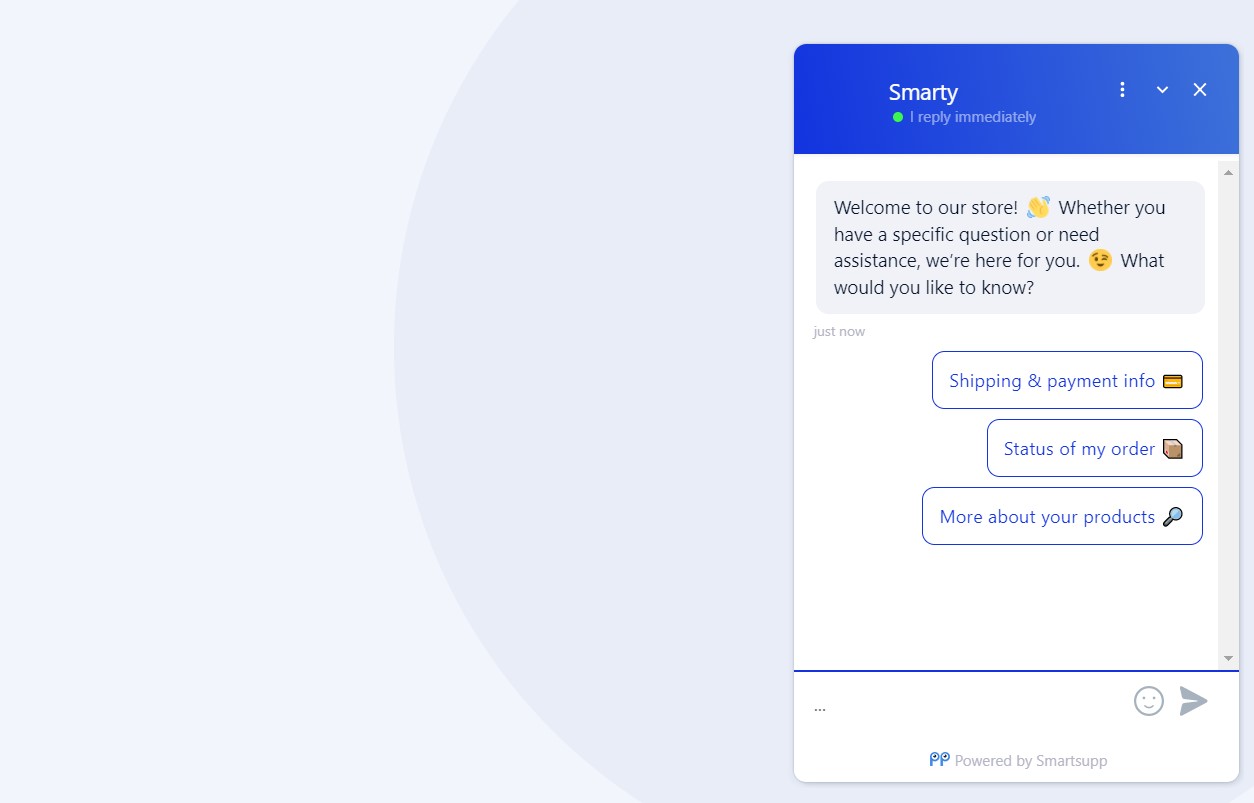
After opening the chat box, they will see the questions that you set up. If they choose one of them, the bot will display an answer in the chat box automatically, so you don’t have to answer them manually. They will be able to continue with subsequent questions or go back to the list of questions and choose some other query.
However, if the visitor decides to text you anyway, you will be able to see all the questions and answers of the chatbot they went through.
The chatbot launches to all visitors that come to your website. It triggers per session which means that it's displayed every time a customer comes to your website. If the customer deletes the cookies the chatbot will be triggered also. You can also trigger the chatbot on a specific page of your website, at a specific moment, or to a specific audience using our conditions. If you'd like to hear more, check out our tutorial on chatbot conditions.
How to set up the chatbot?
Warning: If you previously published an automated Welcome Message we suggest deactivating it and using its content in the opening message here in the chatbot.
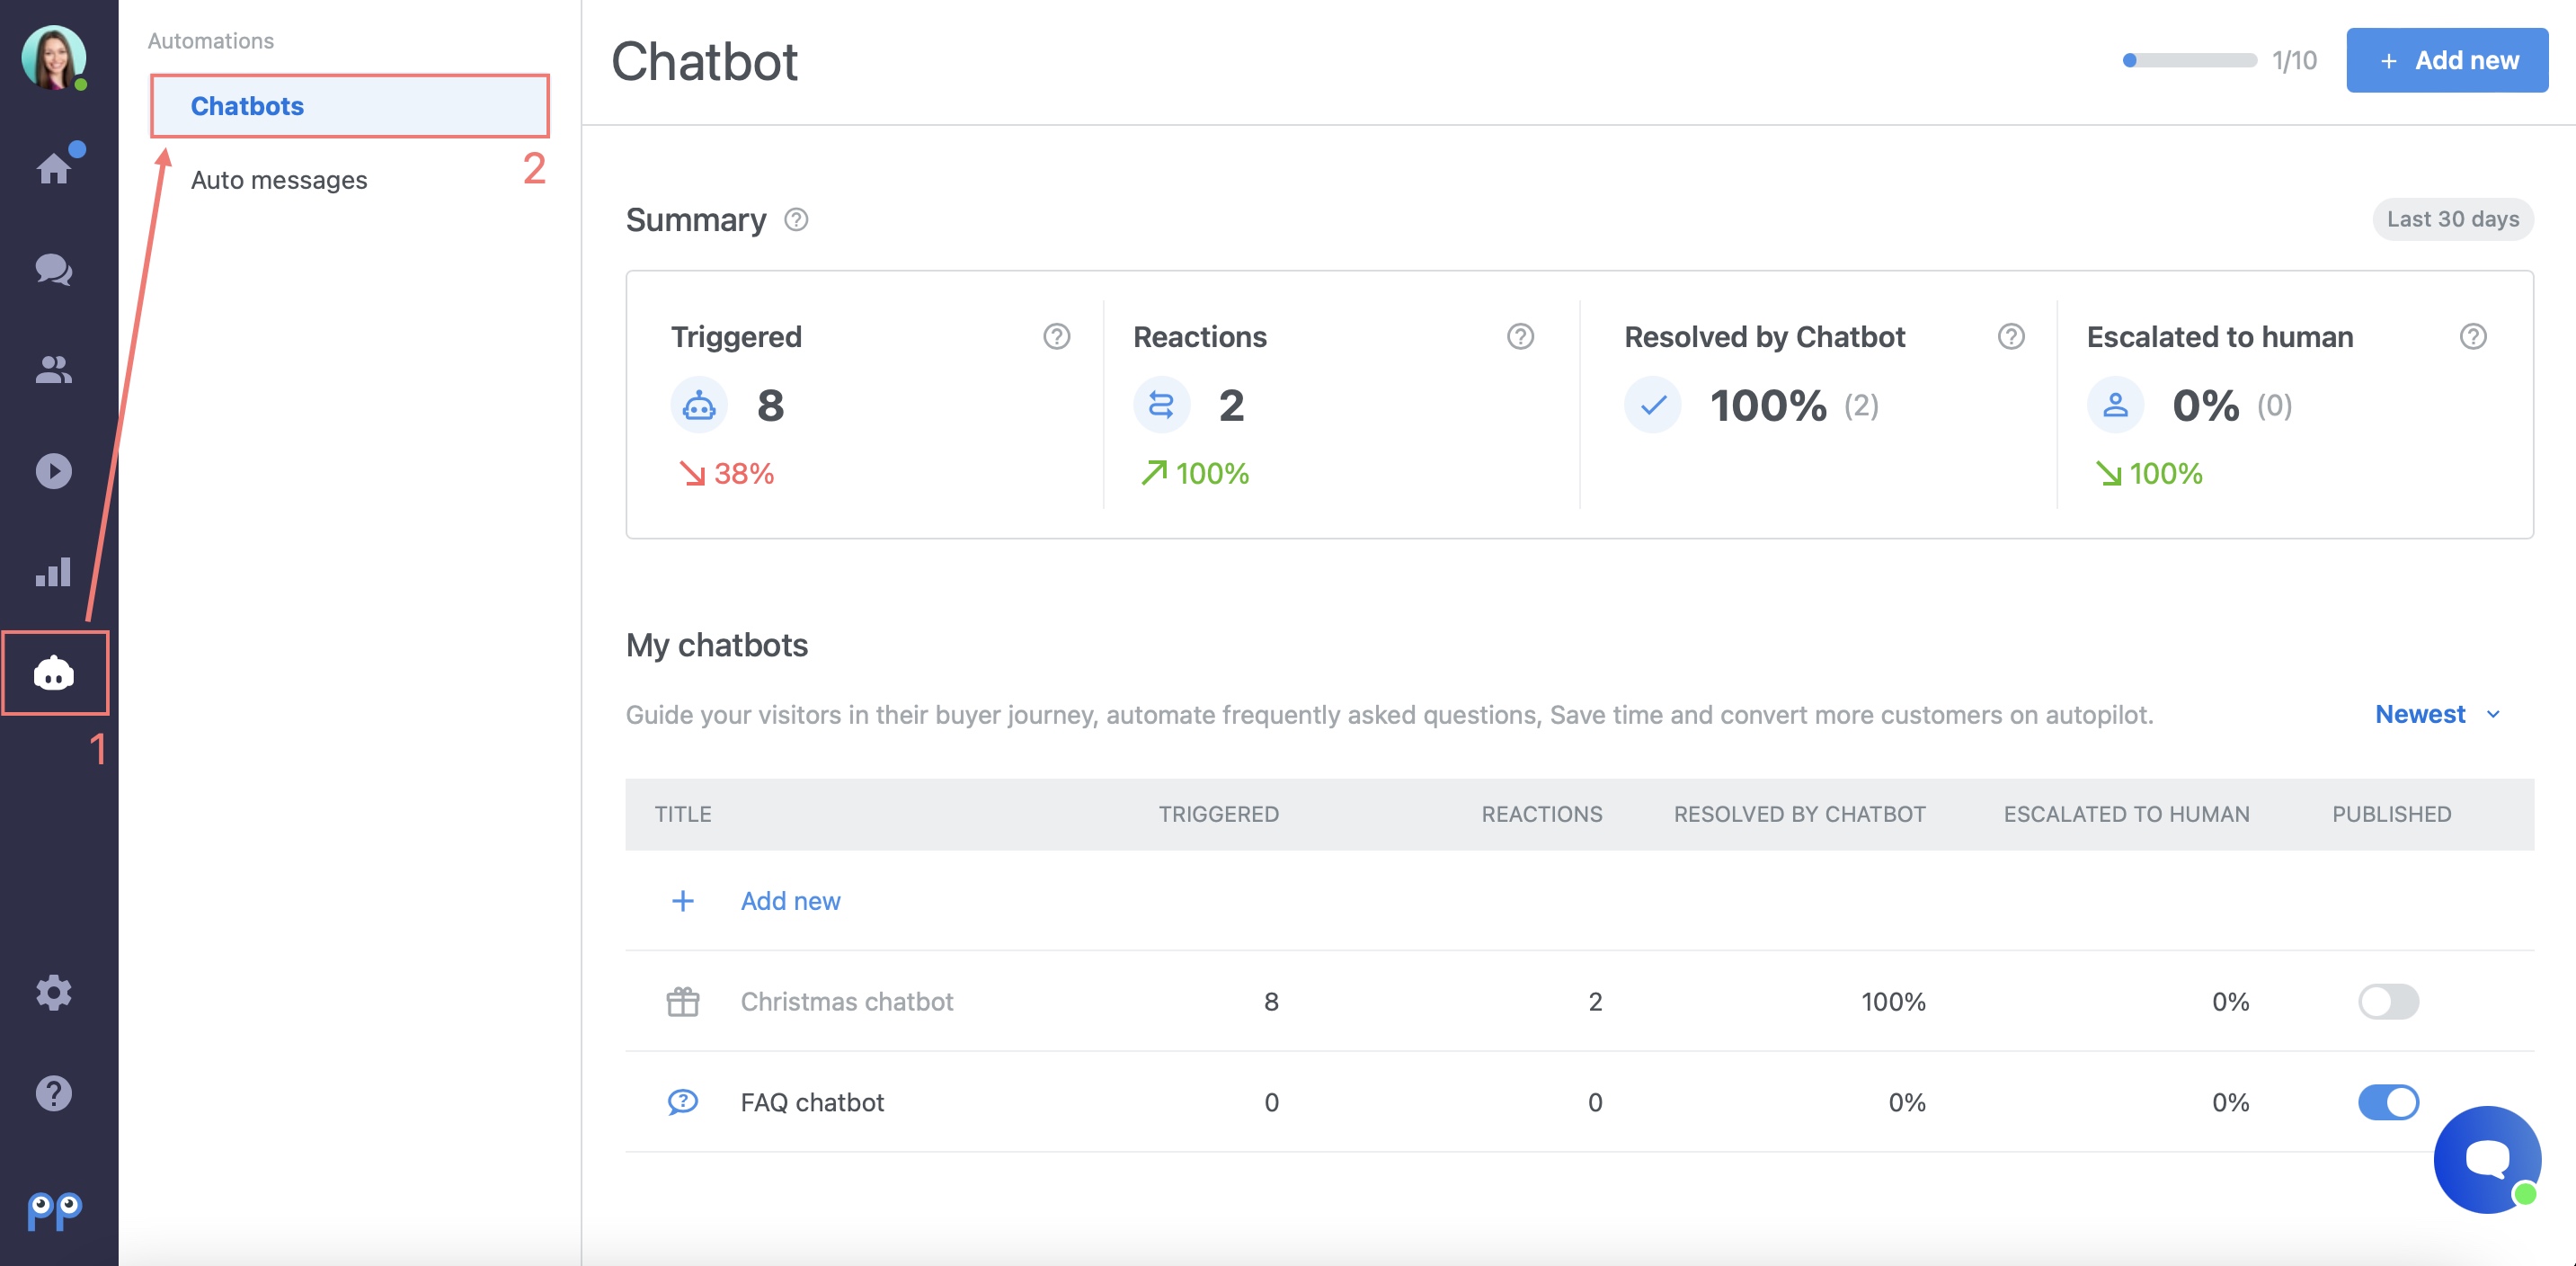
Below, we'll show you, how you can add a chatbot to your website. First, just click on the Robot icon (1) in your Dashboard and choose Chatbot (2) tab.
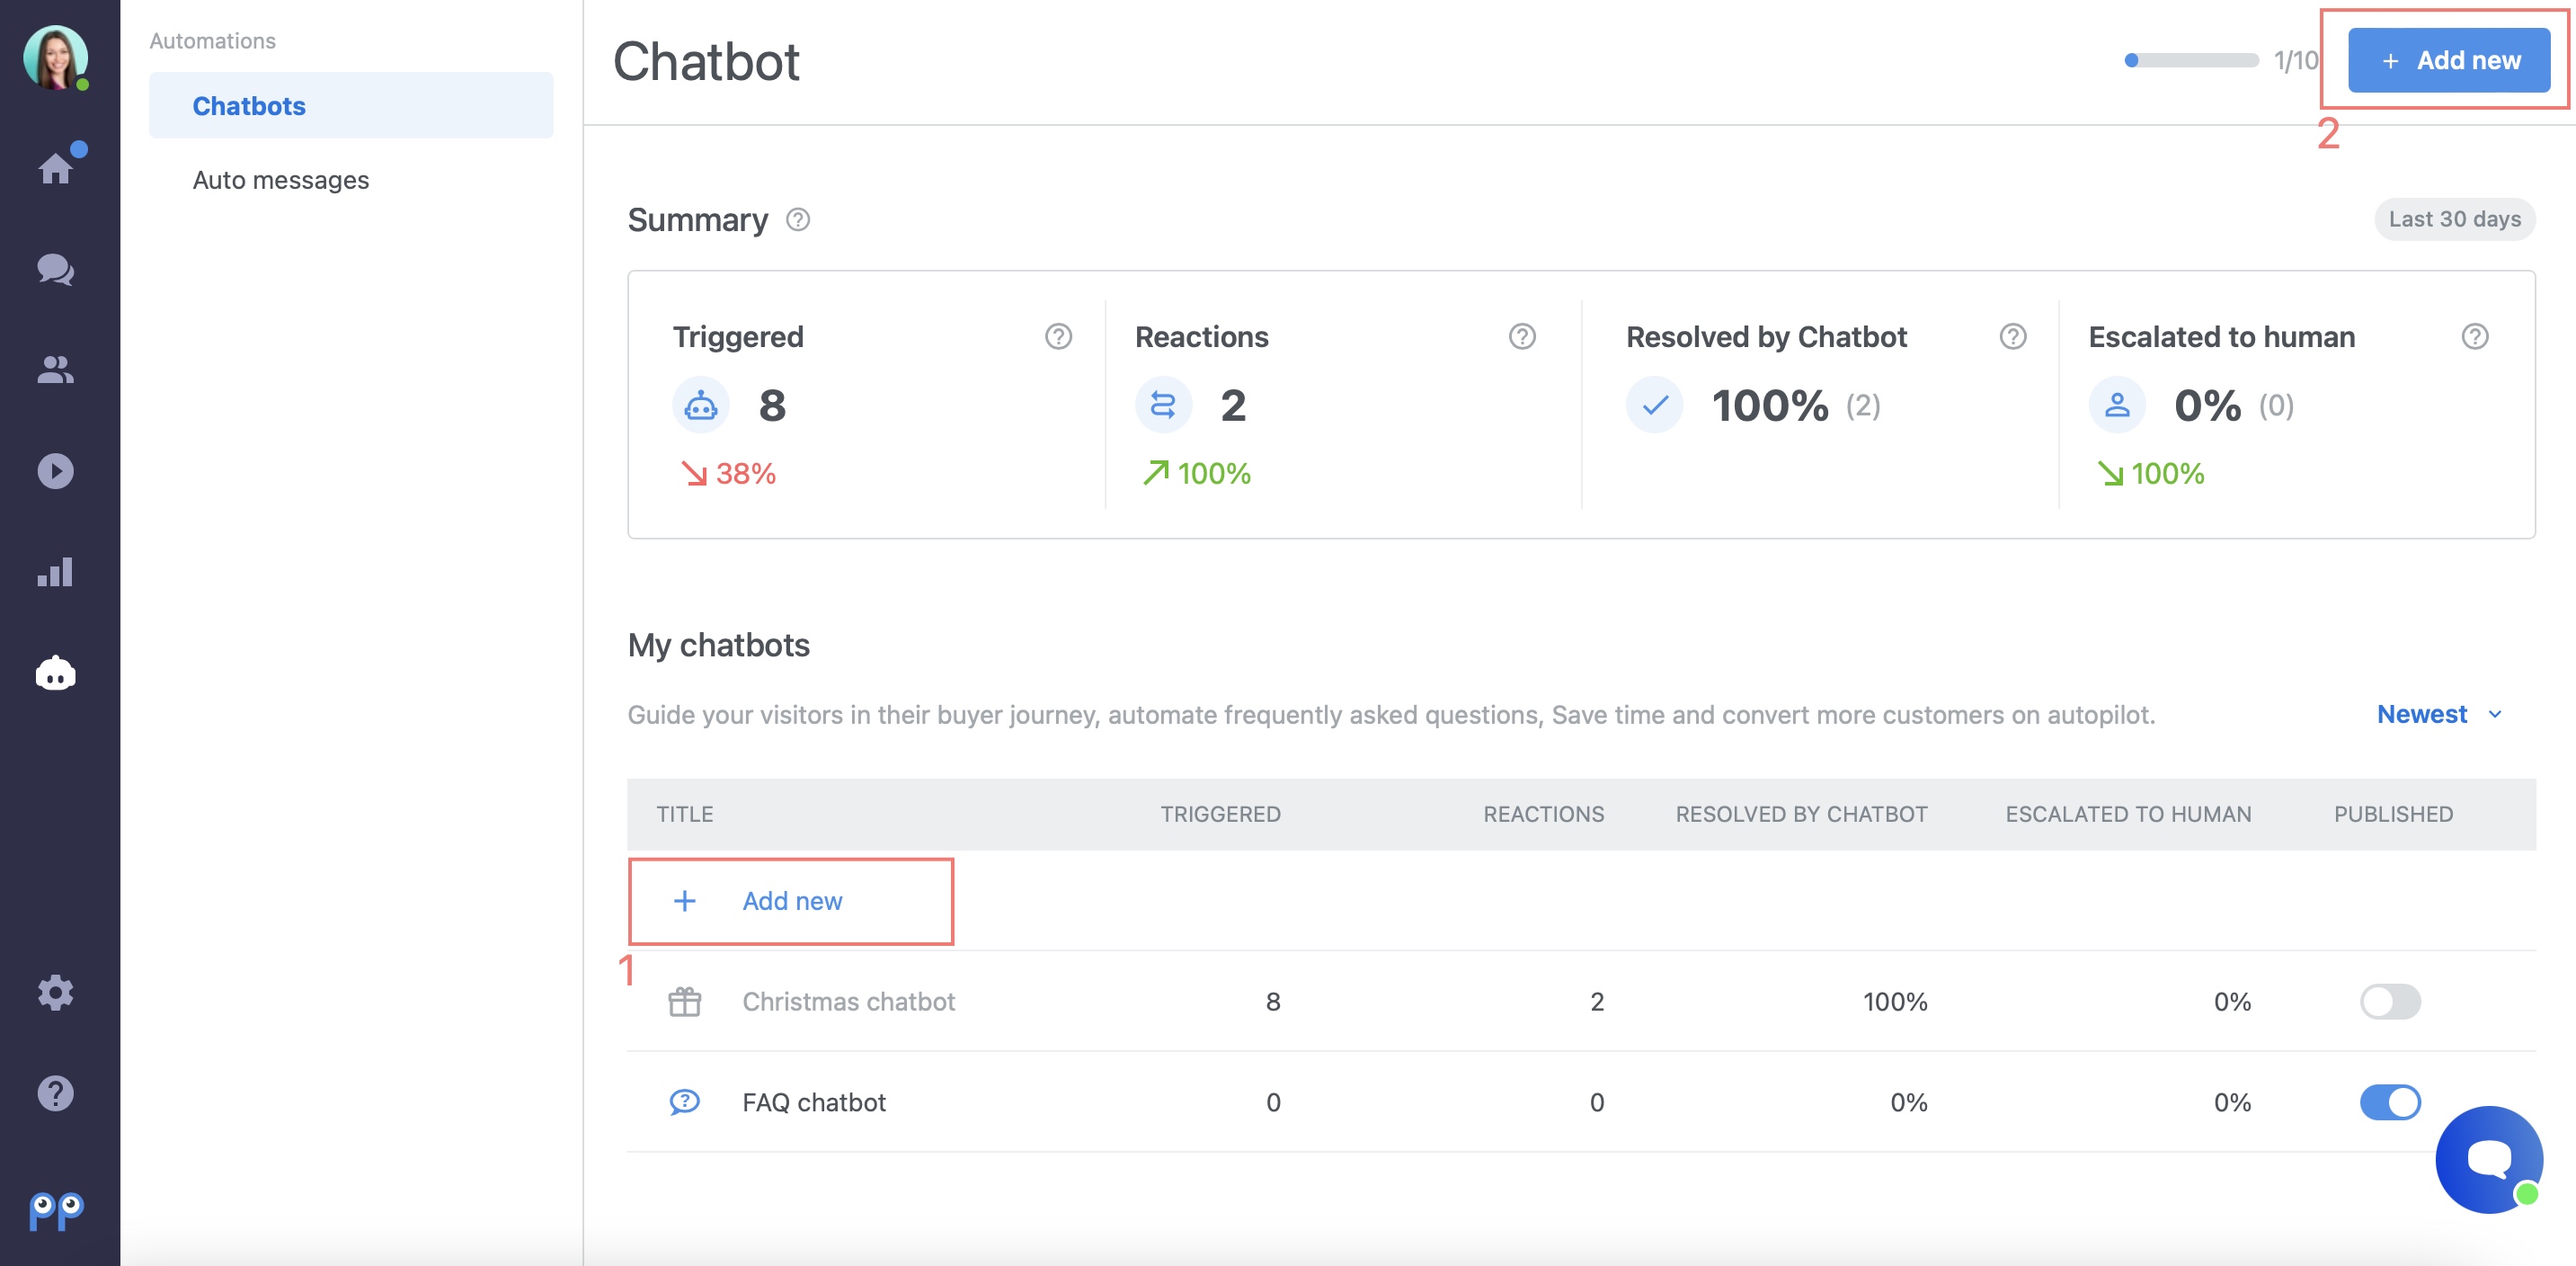
After opening the chatbot tab, click on the blue button "Add new" (1). You can also click on the button + Add new (2) in the right corner of the page.
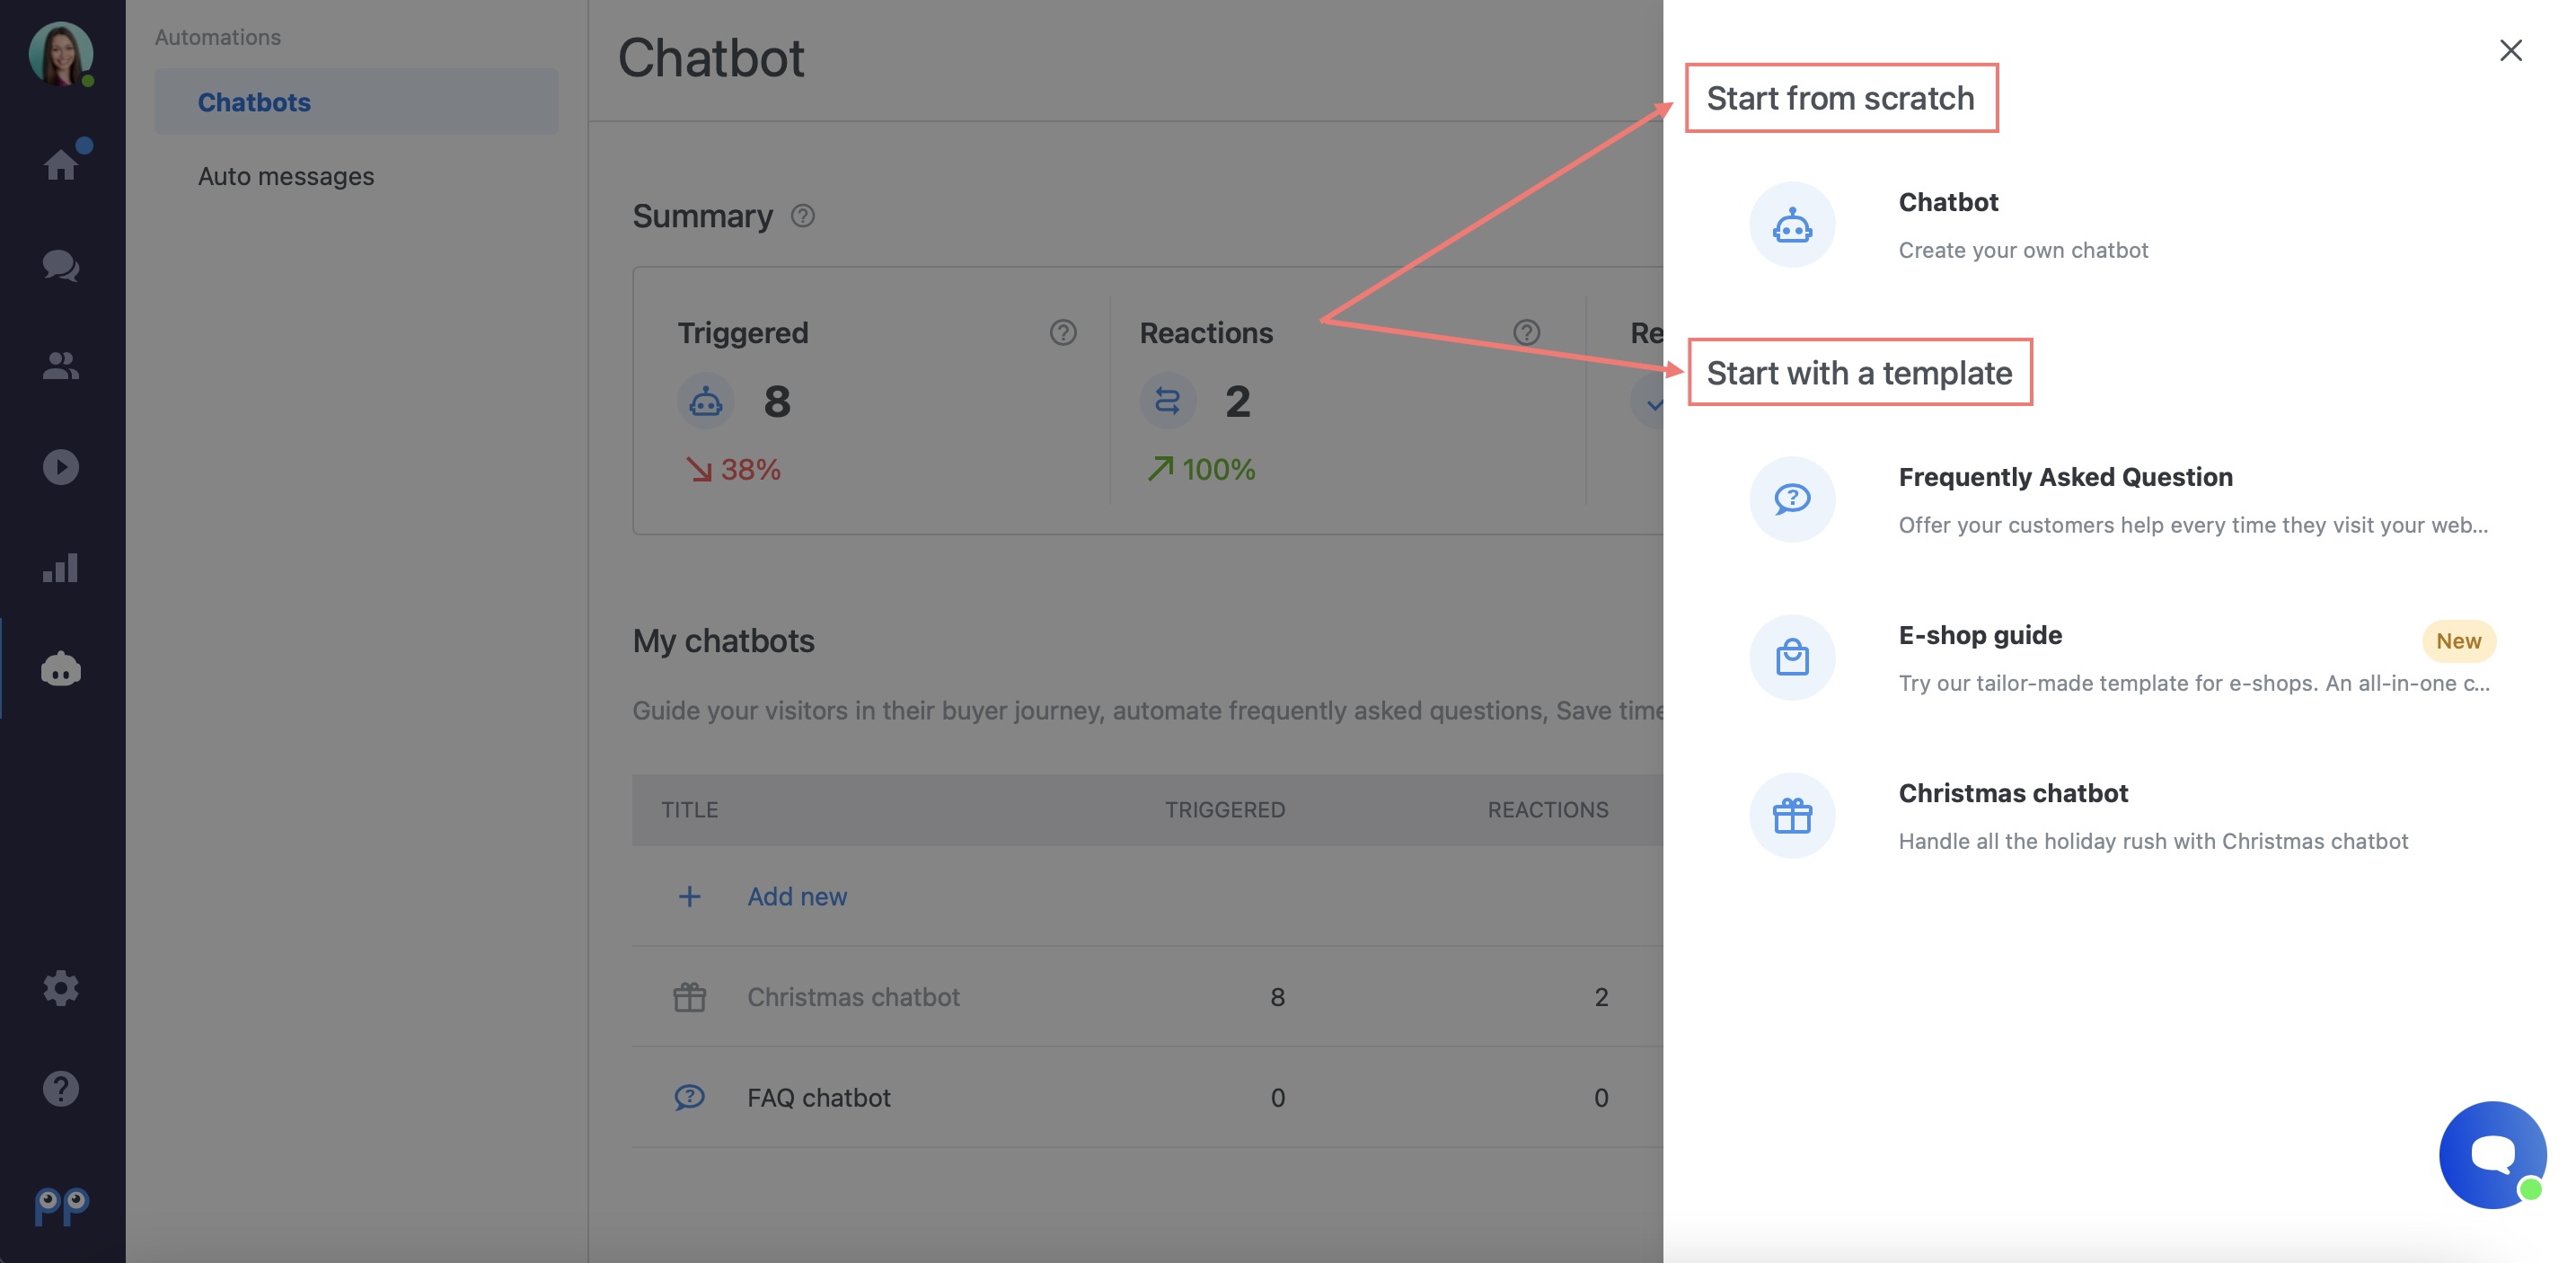
In the automation panel, you’ll be able to choose whether you’d like to create a new chatbot from scratch or whether you’d prefer to use our predefined templates.
How to edit your chatbot?
Once you deactivate the Welcome message that we mentioned above, you can copy its text to the chatbot welcome message field or you can add a short description of your website instead.
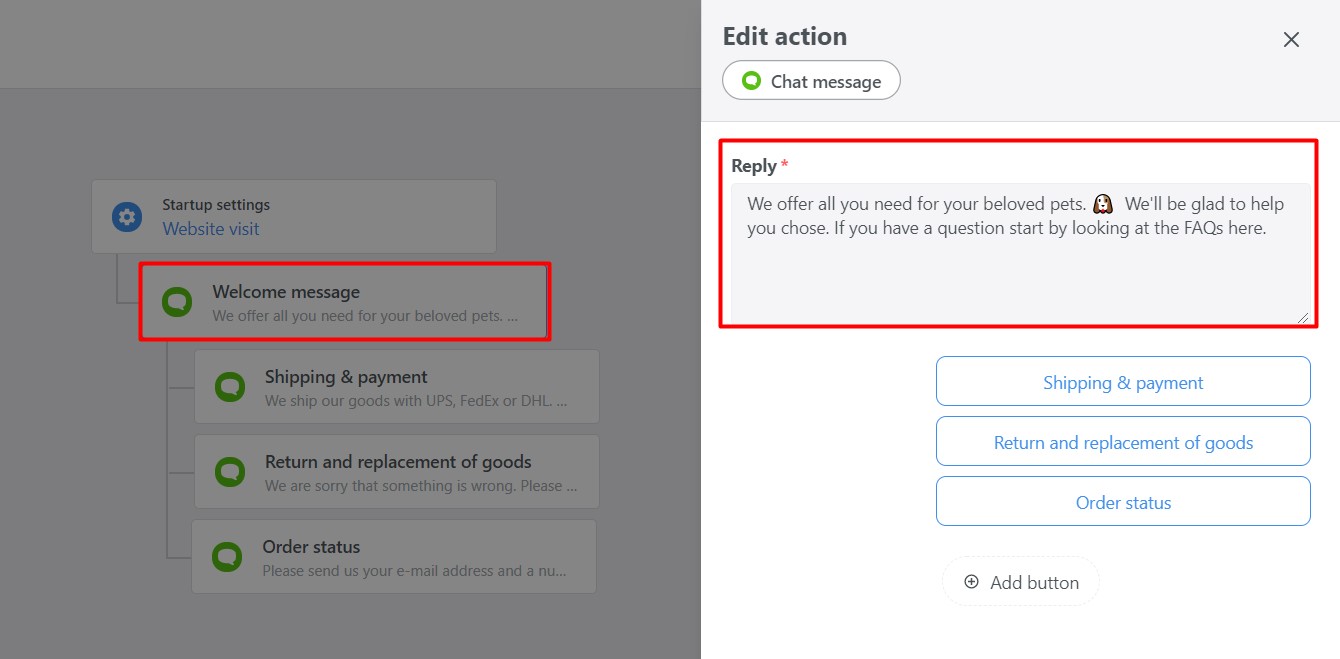
Subsequently, you can decide whether to use the predefined questions and answers or create your custom texts. If you choose the second option, simply click on the message and a card with the message title and text will be opened.
Here you can fill in your text in the text field of the message, change the title, and/or add new buttons and this way create your chatbot.
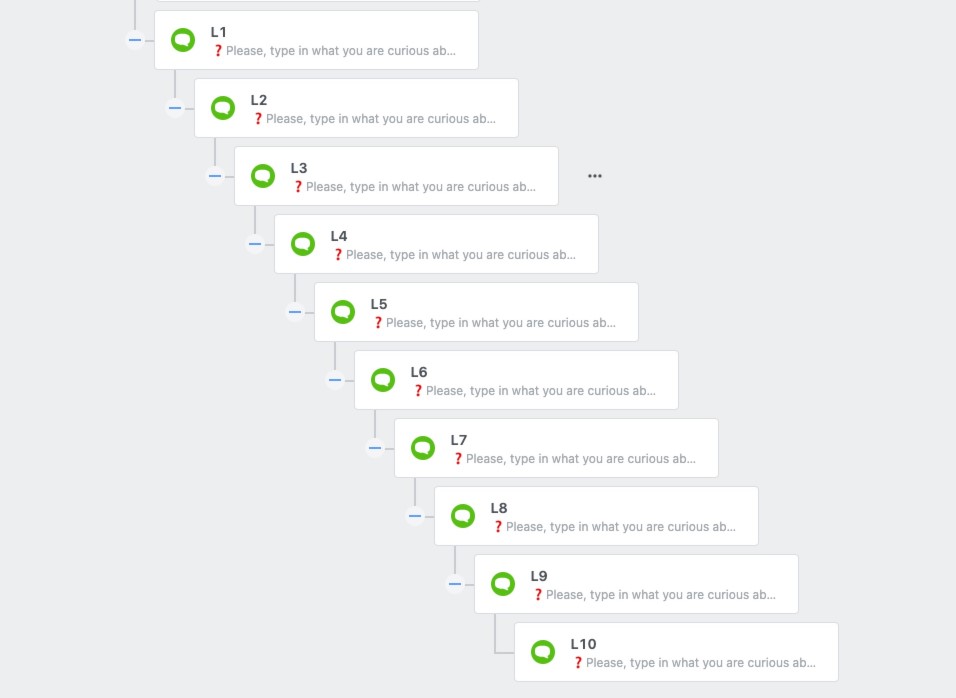
Each new message can have up to 5 subsequent branches. In other words, you can add 5 replies in the form of buttons to each message and you can repeat this process 10 times. To put it simply, each branch can have up to 10 levels of messages.
If you decide to add a new button and save the changes, it will appear under the original message and you can further edit it the same way as the previous one.
How to change the order of messages?
You can easily change the order of the buttons by clicking on the reply that you'd like to move and dragging it to its new position.
You can also move the messages between individual levels and branches of your chatbot. Simply click on the three dots next to the specific message, choose "Move" and select where you would like the messages to be placed.
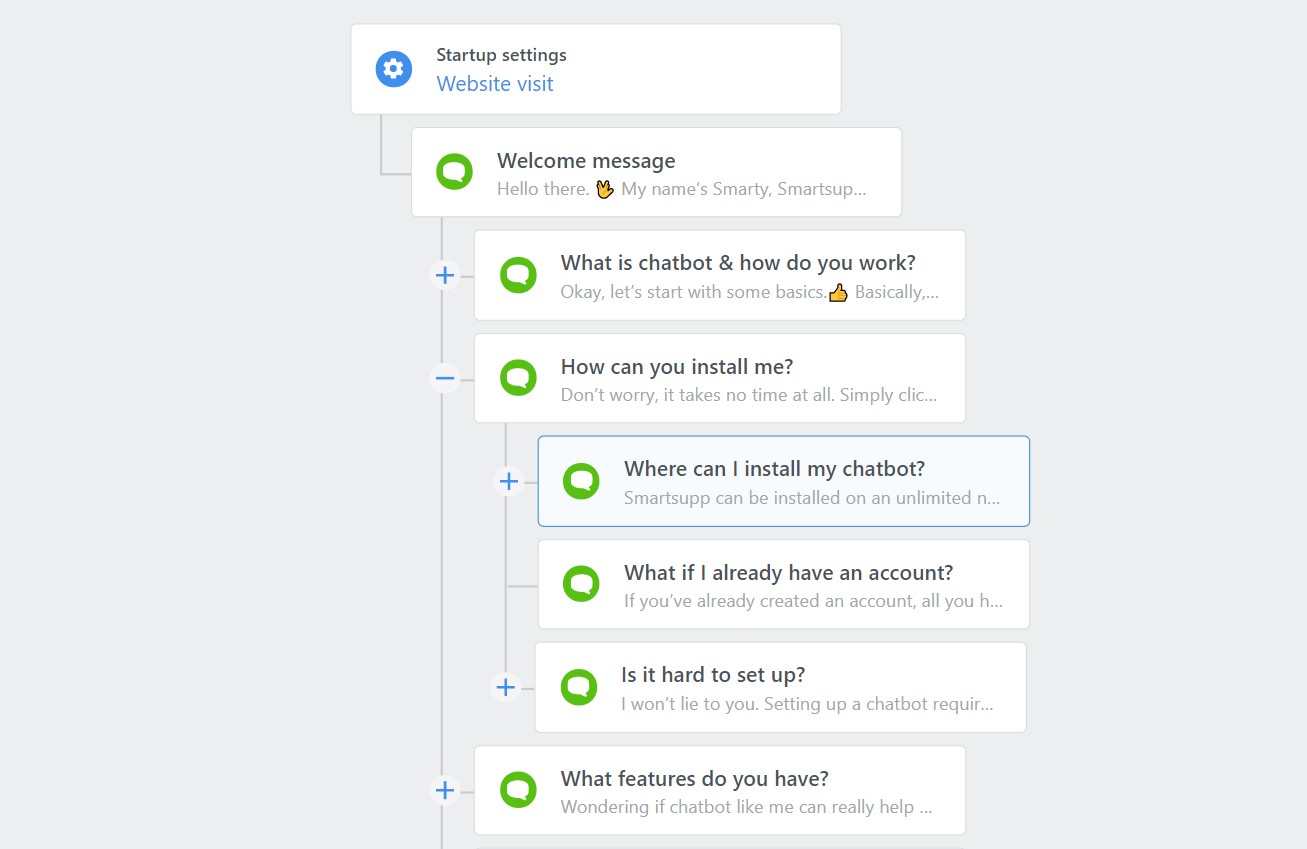
You can open and close each branch by clicking on the plus and minus icons to make the creation of the chatbot easier.
Below you can see an example of the tree structure of the chatbot:
How to activate your chatbot?
In the right corner, you can click on the option "Preview" to see how the chatbot looks on your website.
All your changes are always automatically saved so you don't have to worry about losing any updates. If the chatbot is ready to be visible on your website, you can click on "Publish".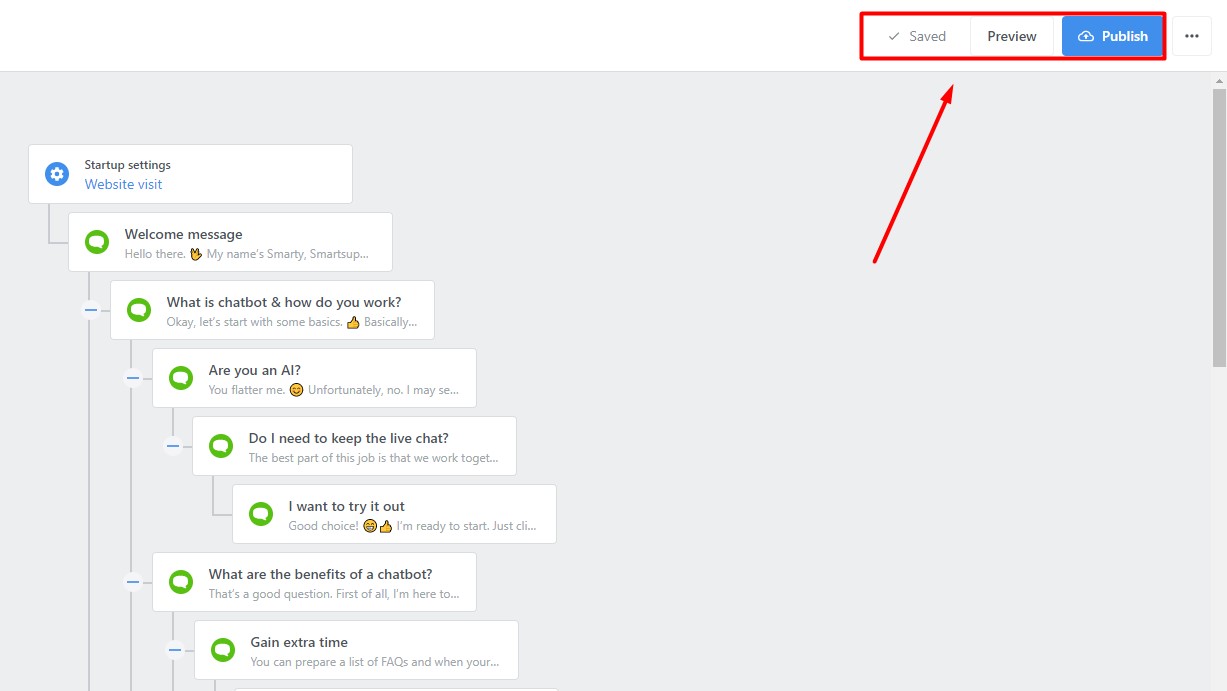
Note: The quick reply title can contain up to 35 characters. The text of the message itself can contain up to 500 characters.
Predefined questions in the chatbot
In Smartsupp, three predefined automatic messages cover the most common use cases. The questions are based on several years of experience and feedback from companies that use Smartsupp.
- Shipping & Payment: We ship our goods with UPS, FedEx or DHL. You can pay using your credit card or via wire transfer.
- Return and replacement of goods: We are sorry that something is wrong. Please pack the goods properly, enclose the completed Complaint Form in the package, and send it to our address. As soon as the package arrives, we will inform you by email about the status of the complaint.
- Order status: Please send us your email address and the number of the order. We will take a look at it.
Tip: You can easily duplicate the whole chatbot node. Click on Duplicate → Select location → Duplicate. See below: